In-class Excercise: CSS
Resources
- The first three sections on this HTML Dog page list the more common CSS properties you'll be using.
- This CSS cheat sheet is a bit more terse but you might find it useful.
- There are more exhaustive references on CSS-Tricks and the Mozilla Developer Network.
Part 1: Add CSS to a webpage
For this section we will use JS Bin, which is a service that lets you see your HTML and the output of it immediately. You could do all of this with a file on your computer, but JS Bin is a bit more convenient. It's also a nice way to share code with people to show them a problem you're having (hint-hint).
Open this JS Bin.
Change some of the HTML on the left and see that the output on the right changes.
Now let's add some style. In the
styleelement, add a line after
and paste the following:/* Your styles go here */
There should now be much more room between paragraphs. We selected the paragraph elements (p { margin-top: 50px; }p) and set themargin-topproperty to50px.Style all the links (
aelements) by adding a CSS statement after the statement we just added.Change the font family for the entire page by modifying the
font-familyfor thebody. Read more about this and see an example at CSS-Tricks.-
CSS can do much more than select all elements of a type and style those. For example, notice that there are a few
spanelements in the HTML we're working with. They have been invisible so far becausespanelements have no style by default. Let's style some of them now by adding a new statement:.interesting { font-weight: bold; }Why did we use
.interestingfor the selector instead ofspan? Because you generally don't want to style allspanelements on a page, and in this case we only wanted to style the ones that are of classinteresting. -
There are three links (
aelements) on this page. Let's style the one that links to a Wikipedia article differently.Find the link to a Wikipedia article
<a href="https://en.wikipedia.org/wiki/Sapien">sapien</a>and add a
styleattribute to it:<a href="https://en.wikipedia.org/wiki/Sapien" style="">sapien</a>then add some CSS to the style:
<a href="https://en.wikipedia.org/wiki/Sapien" style="font-weight: bold;">sapien</a>You can add as many CSS properties as you like to a
styleattribute on an element, just remember to separate them with semicolons (;). Add another CSS property to the link'sstyleattribute now. -
Styling using the
styleattribute is fine for small examples, but what if we suddenly had a few more links to Wikipedia and wanted to make sure they all had the same style? This is often when classes come in handy.Add another link to a Wikipedia article somewhere in your HTML. For example:
<a href="https://en.wikipedia.org/wiki/Lectern">lectus</a>And add a
classattribute to both links to Wikipedia, like this:<a href="https://en.wikipedia.org/wiki/Lectern" class="wikipedia-link">lectus</a>(Class names can be any words that don't have spaces in them. When you're tempted to write a space, use a
-between words.)Finally, create a new CSS statement in your
styleelement, eg:.wikipedia-link { }and cut and paste the CSS from the original Wikipedia link (the one you styled using the
styleattribute) into this statement. I highly recommend putting each property on its own line. Delete thestyleattribute from the original Wikipedia link since the class styling should take care of it now.
Part 2: Use developer tools to change other webpages' CSS
Load a webpage in your browser (preferably Chrome for now).
-
Open developer tools:

-
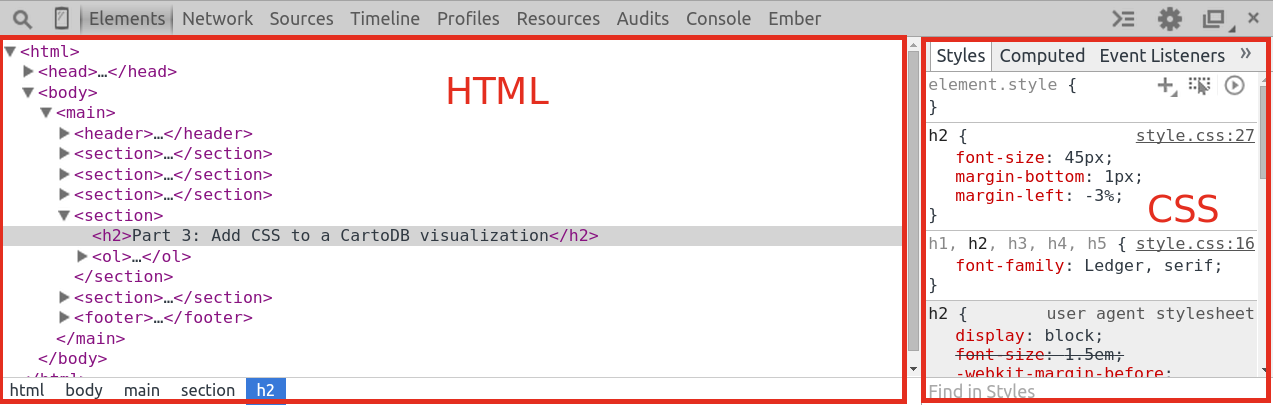
Using the magnifying glass tool, select an element:
-
On the left you should see the HTML for the element, and on the right you should see the CSS for it. The CSS will be more or less complicated, depending on the page you're looking at.
-
Style the element by clicking to the right of
element.stylein the CSS area. Start typing a property, use the arrow keys to select it, then press tab and type a value. This has an identical effect to adding CSS to astyleattribute in an element as we did in part 1.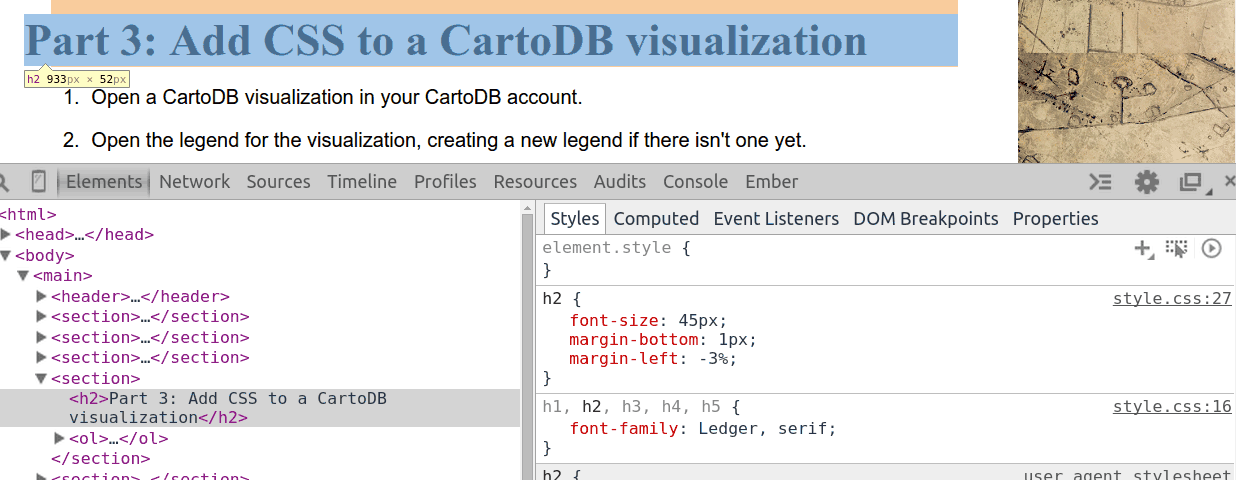
Use the magnifying glass to find another element you would like to style. This time, instead of styling by adding properties to
element.styleadd and change properties within one of the existing CSS statements that work on the element. When you do, multiple elements on the page should change.Continue defacing the page and get a feeling for how the CSS on the page works. In particular, look at turning properties off (using the checkboxes to the left of them) and changing colors using the built-in color picker.
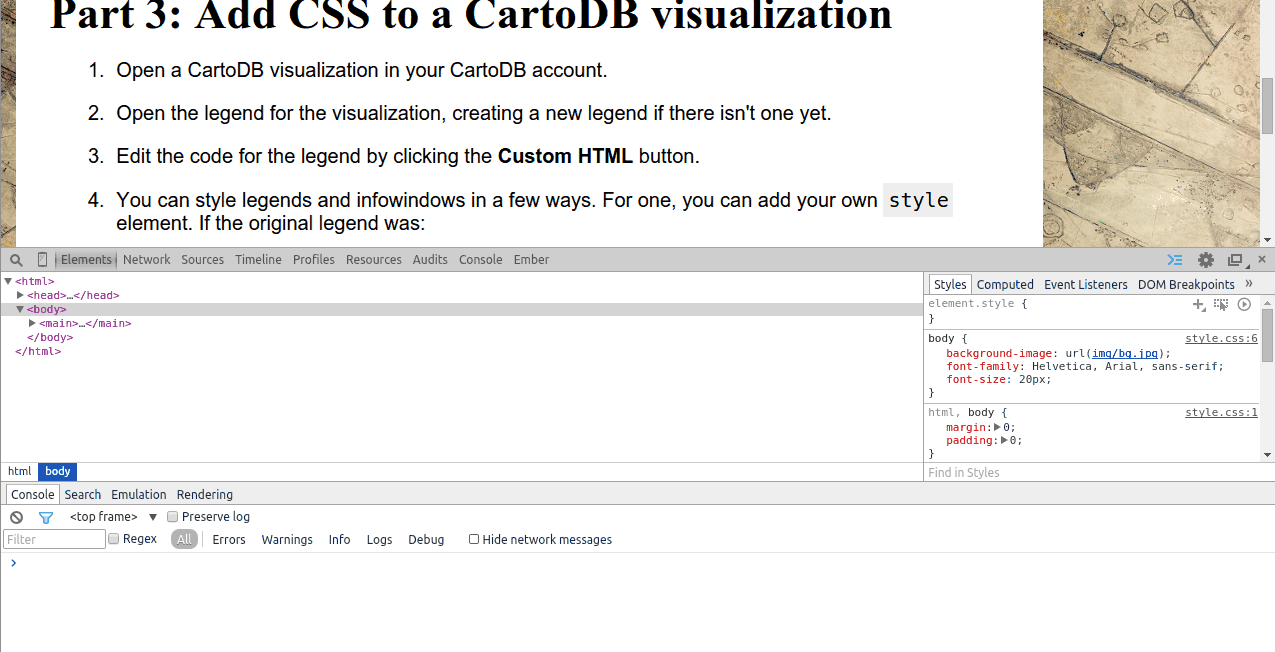
Part 3: Add CSS to a CartoDB visualization
Open a CartoDB visualization in your CartoDB account.
Open the legend for the visualization, creating a new legend if there isn't one yet.
Edit the code for the legend by clicking the Custom HTML button.
-
You can style legends and infowindows in a few ways. For one, you can add your own
styleelement. If the original legend was:<div class='cartodb-legend custom'> <li> <div class="bullet" style="background:#fb9a99"></div> graffiti report </li> </div>then you can simply add a
styleelement at the beginning:<style> /* CSS statements go here */ </style> <div class='cartodb-legend custom'> <li> <div class="bullet" style="background:#fb9a99"></div> graffiti report </li> </div>You can add your own classes to the HTML and style those classes here, or you can style some of the built-in CartoDB classes to modify how your legend looks. Attempt to change the style for one of your legend's elements now, like this:
<style> .legend-text { color: black; font-size: 15px; } </style> <div class='cartodb-legend custom'> <li> <div class="bullet" style="background:#fb9a99"></div> <span class="legend-text">graffiti report</span> </li> </div> -
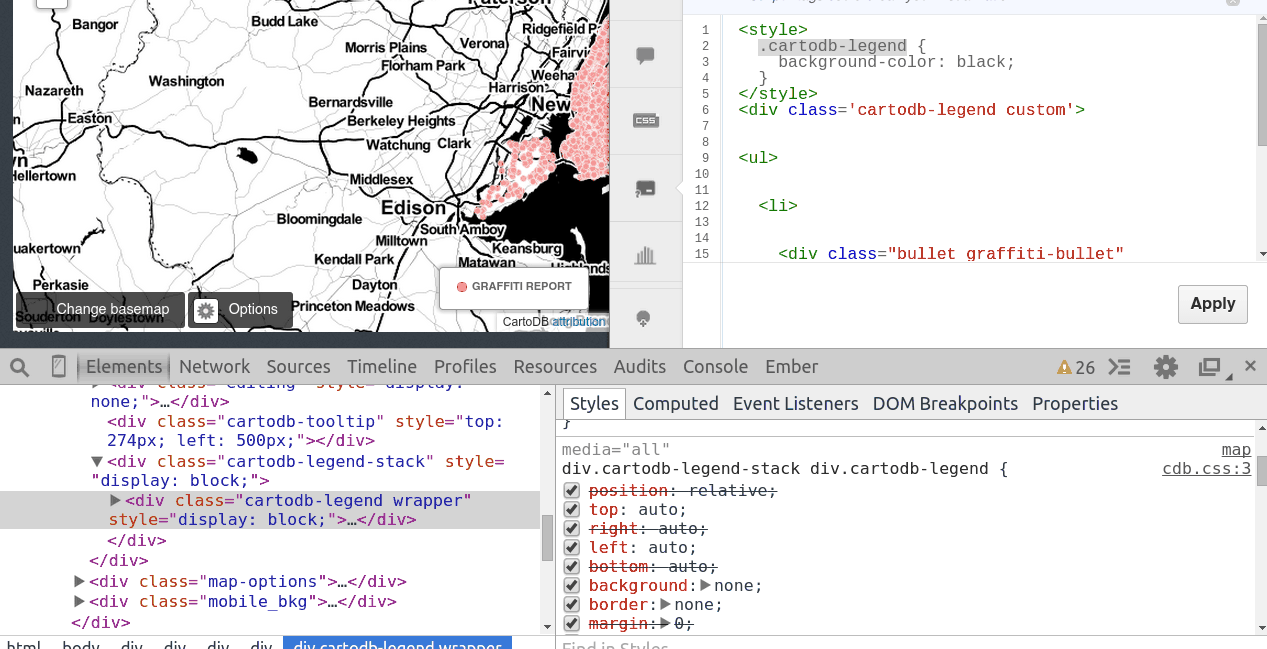
Unfortunately, this isn't always as straightforward as it should be. Sometimes you need to find the CSS statement that is affecting the property you want to change and use the same exact selector. This is because some of the CSS CartoDB uses is very specific and you need to be at least as specific to override it.
For example, changing the background color for legends isn't too easy. You might try:
<style>
    .cartodb-legend {
        background-color: lightblue;
    }
<style>
but this won't work. You need to find the element you're trying to style, find the selector CartoDB is using to style it, and use that.
Find the element you're trying to style:

Find the selector CartoDB is using to style the property you want to style:
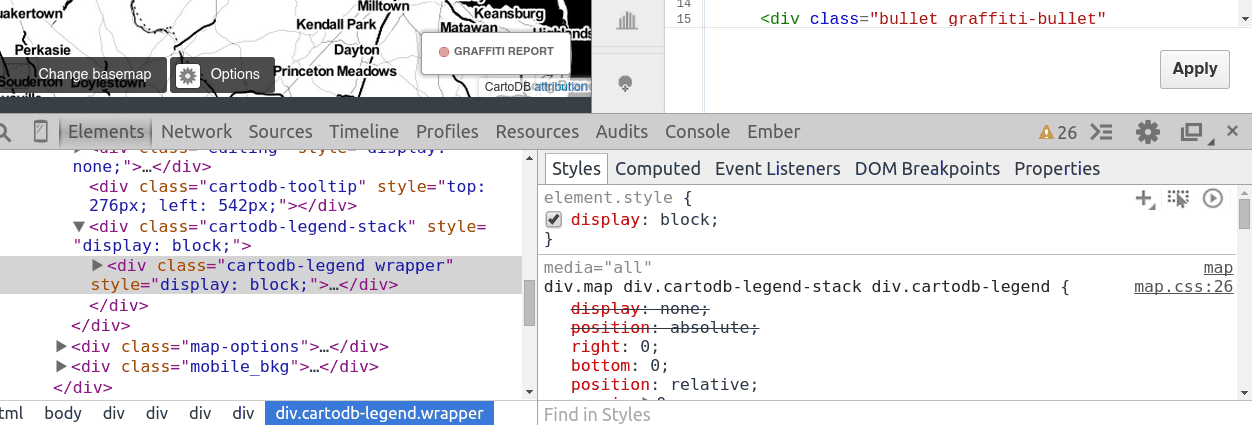
Then use that selector:
Try using this technique to change the border of your legend.